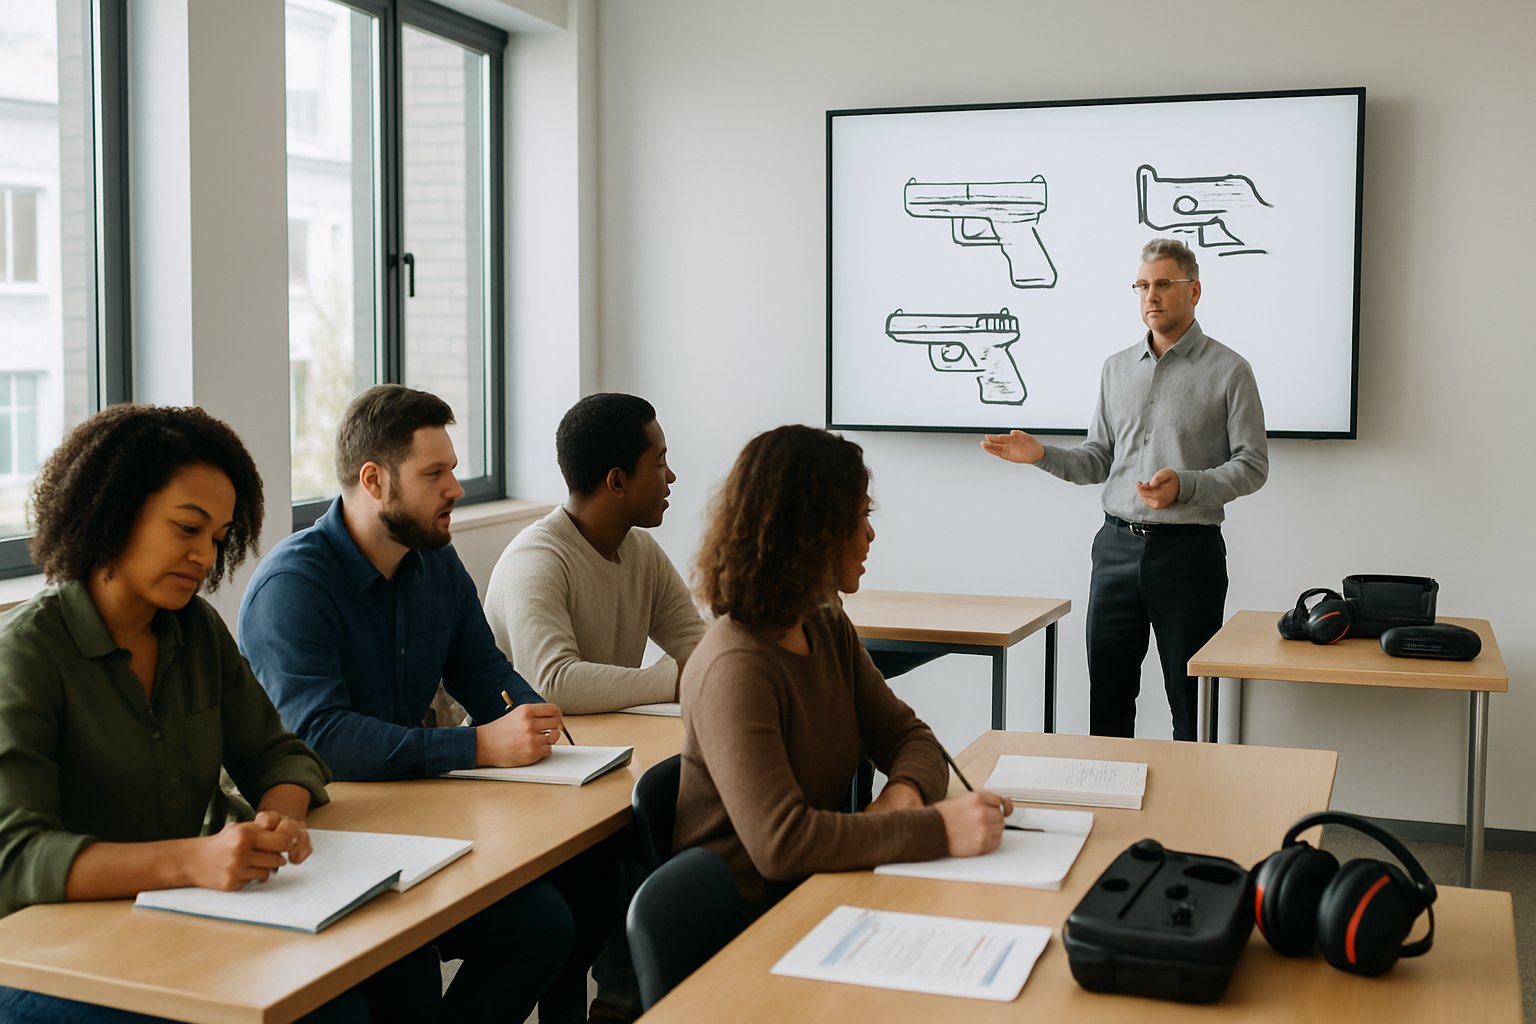
Key Components of a Michigan CPL Training Class
You learn how to handle firearms safely, understand Michigan’s concealed carry laws, and practice shooting skills through live-fire training. Each area builds the knowledge and confidence you need to earn your Concealed Pistol License (CPL) and carry responsibly.
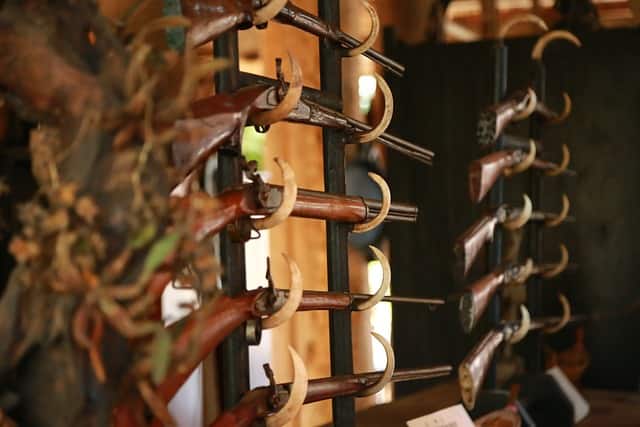
Firearm Safety and Handling
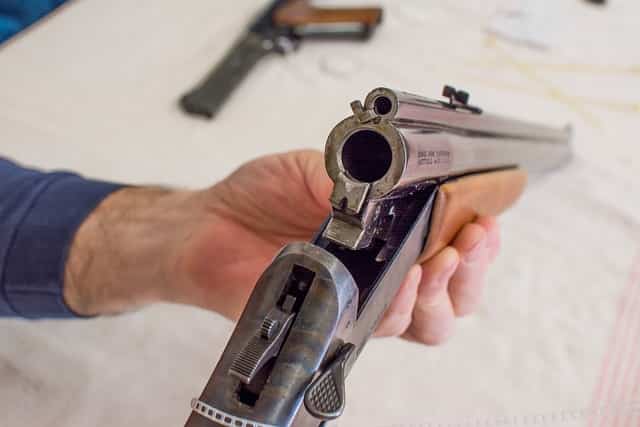
Safety is the first focus of any CPL class. You practice how to load, unload, and store your firearm safely to prevent accidents. Instructors teach the four universal safety rules, including always keeping the muzzle pointed in a safe direction and treating every gun as if it’s loaded.
You also learn about safe storage and transportation under Michigan law. This includes using a locked container when traveling and keeping ammunition separate from the firearm.
Many courses, such as those described by IFA Tactical Training, require at least five hours of classroom safety instruction. You’ll handle training firearms under supervision and review how to identify malfunctions and clear them safely. These lessons help you build habits that reduce risk both at home and on the range.
Legal Responsibilities and Michigan Laws
Understanding the law is a major part of CPL training. You study MCL 28.425f, which outlines the legal requirements for carrying a concealed pistol in Michigan. This includes where you can and cannot carry, how to interact with law enforcement, and what happens if you misuse your firearm.
The class explains the difference between lawful self-defense and criminal use of force. You also review duty-to-retreat rules and the Castle Doctrine as they apply in Michigan.
Instructors often use real-life examples to show how the law works in practice. You’ll discuss what to do after a defensive incident and how to report it properly. For more details on course coverage, see the LegalClarity overview.
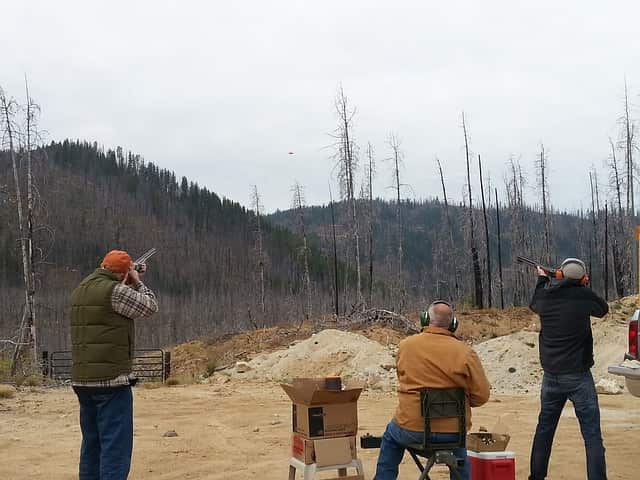
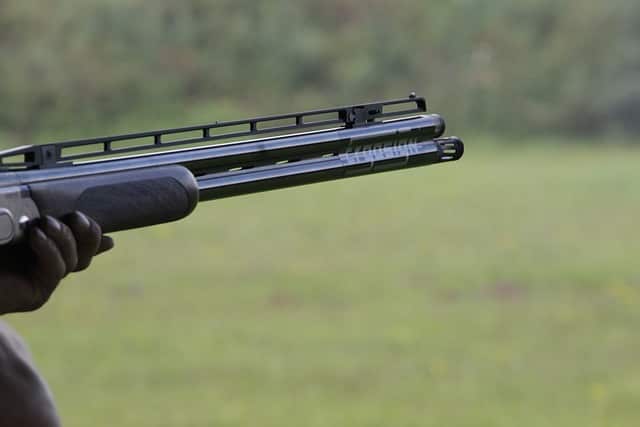
Shooting Fundamentals and Range Training
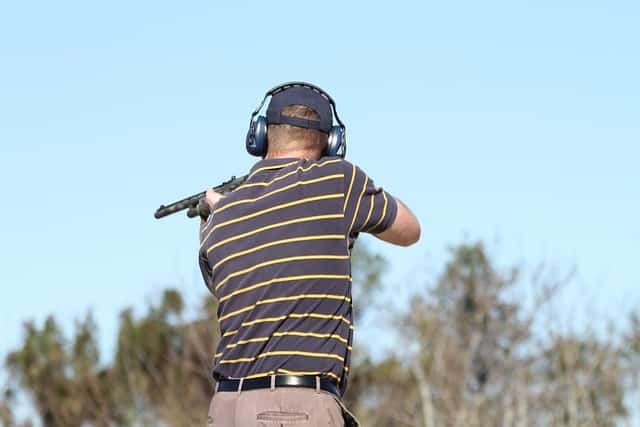
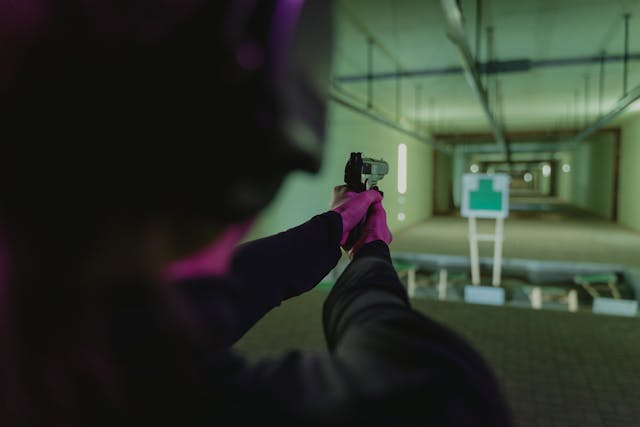
The final part of your Michigan CPL training focuses on shooting skills. You spend at least three hours in live-fire training, learning grip, stance, sight alignment, and trigger control. These fundamentals help you shoot accurately and safely.
Instructors guide you through drills that build confidence with your firearm. You’ll practice drawing, aiming, and firing under controlled conditions.
Courses like those at Storm Strong Arms include supervised range sessions that test your understanding of safety and accuracy. You must demonstrate control, awareness, and proper handling to complete this portion successfully.
This hands-on experience ensures you can apply what you learned in the classroom before applying for your CCW license.
What to Bring and How to Prepare
You’ll need to bring proper identification, a firearm or rental option, and dress safely for range practice. Preparing these items helps you meet Michigan CPL training requirements and stay comfortable throughout the full day of class.
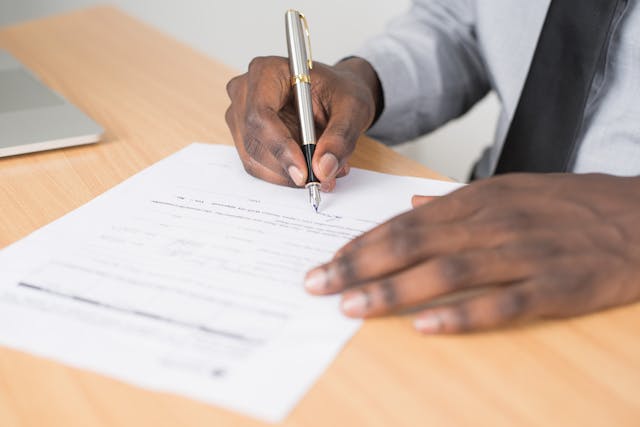
Required Documents and Identification
Bring a valid government-issued photo ID, such as a driver’s license or state ID. Instructors use it to verify your identity and confirm eligibility for the course. Without it, you may not be allowed to participate.
If you already have a firearm license or proof of prior training, bring copies for your instructor’s records. Some training facilities may request these to confirm your background or waive certain requirements.
It’s a good idea to carry a notebook and pen for taking notes during classroom instruction. You’ll cover topics like firearm safety, legal responsibilities, and personal protection laws. According to IFA Tactical Training, most Michigan CPL courses last about eight hours, so staying organized helps you retain key information.
Keep all documents in a small folder or envelope so you can easily access them during check-in. Arrive at least 15–20 minutes early to complete paperwork and avoid delays.
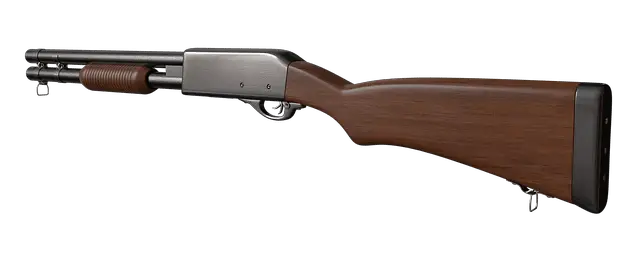
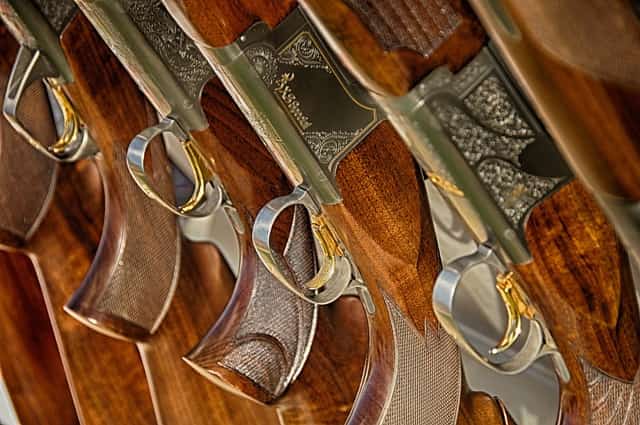
Firearm, Ammunition, and Gun Rental Options
You’ll need a handgun for the live-fire portion of training. If you don’t own one, most facilities offer gun rental options. For example, SmartCarry Defense provides rental firearms for students who want to train before purchasing their own.
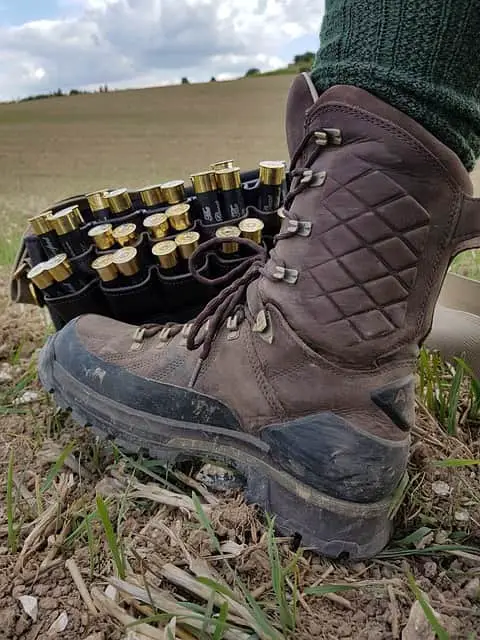
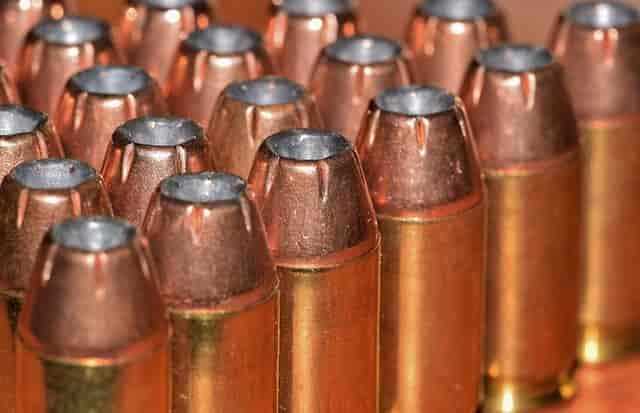
Bring 50 to 100 rounds of ammunition, depending on your instructor’s requirements. Always confirm the caliber and type of ammo allowed at the range. Some ranges prohibit steel-core or reloaded ammunition for safety reasons.
Pack your firearm unloaded and stored in a secure case. Michigan law requires safe transportation between your home and the training site. Include ear and eye protection in your bag, even if the range provides them.
If you’re renting, arrive early to test grip and fit. This ensures you’re comfortable and confident before shooting.
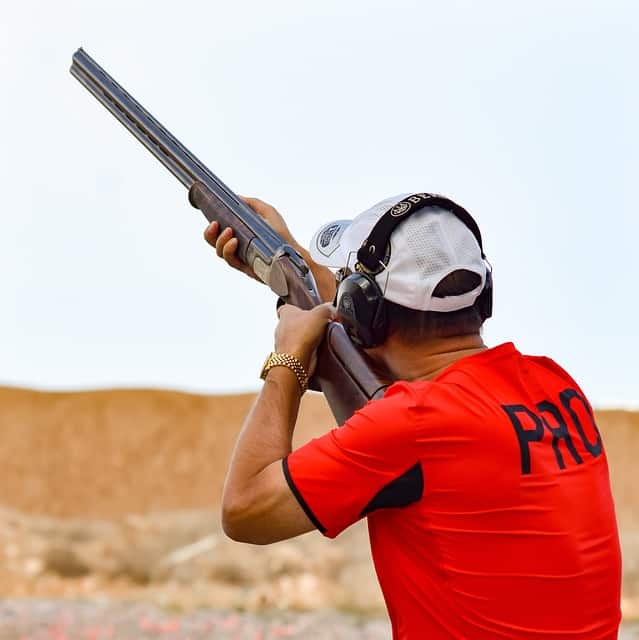
Dress Code and Safety Gear
Wear comfortable, weather-appropriate clothing that allows free movement. Closed-toe shoes are mandatory for range safety. Avoid sandals or open footwear.
Choose shirts with higher necklines to protect against hot brass. A baseball cap or brimmed hat helps shield your face and eyes. SmartCarry Defense recommends avoiding low-cut tops and loose jewelry, as they can cause distractions during shooting practice.
Bring safety glasses and ear protection that fit well. Foam earplugs work, but over-ear muffs often provide better noise reduction. Some facilities may loan or sell gear if you forget yours.
Keep a water bottle and light snacks handy. CPL classes can last several hours, and staying hydrated helps you stay focused during both classroom and range sessions.
After Completing Your CPL Training
Once you finish your Michigan CPL class, you’ll receive proof of training, pay the required fees, and submit your application through your county clerk’s office. You must also meet all state qualifications under MCL 28.425f and pass a background check before receiving your license.
Obtaining Your Certificate of Completion
After your instructor verifies you completed the required instruction and range time, you’ll receive a Certificate of Completion. Michigan law requires at least 8 hours of training, including 3 hours of live-fire practice, before you can apply for a CPL.
Keep this certificate safe. You must include a copy when you apply for your license. It shows you met the state’s firearm safety and legal education standards.
If you took your class through a certified provider such as SmartCarry Defense or IFA Tactical Training, your certificate should list the instructor’s name, certification number, and training hours.
You can use this certificate for up to 5 years after completing your class. If it expires before you apply, you’ll need to retake the training to meet current Michigan CPL requirements.
CPL Application Process and Fees
You must submit your CPL application in person at your county clerk’s office. Bring your certificate, valid ID, and payment for the application fee, which is about $115.
The clerk’s office will take your fingerprints for a background check. The Michigan State Police review your record to confirm you meet eligibility under MCL 28.425f.
Typical reasons for denial include felony convictions, certain misdemeanors, or restraining orders. If you meet all requirements, your license will arrive by mail within 45 days.
| Step | Action | Notes |
|---|---|---|
| 1 | Submit application | Bring certificate and ID |
| 2 | Pay fee | Around $115 |
| 3 | Fingerprinting | Done at clerk’s office |
| 4 | Wait for review | Up to 45 days |
Next Steps Toward Your Michigan CPL
Once you receive your CPL, review Michigan’s firearm laws carefully. Carrying a concealed pistol means you must follow strict rules on where and how you carry.
Keep your license with you whenever you carry. If law enforcement asks, you must show both your CPL and ID.
Stay current on legal updates through resources like LegalClarity. Laws can change, and knowing them helps you avoid violations.
You should also practice regularly at a certified range. Continued training improves safety and confidence with your firearm.